Brick a House Chapter 1 Starter House Walkthrough
Clear walls, floors, roof, and furniture markers in order while your upgrades keep pace.
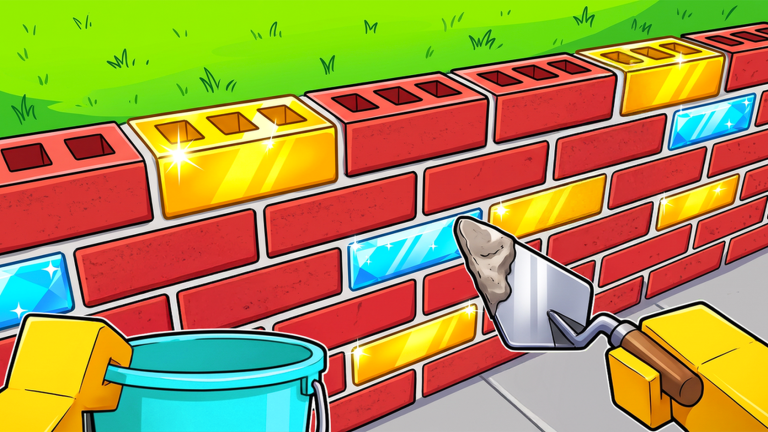
Chapter 1 is Brick a House’s teaching mansion-ette: a compact starter house that walks you through glowing placement stages until the build feels complete enough to unlock bigger dreams. This walkthrough covers the usual handoff order — walls, floors, roof, then furniture — plus the upgrade and routing choices that keep the chapter short. Watch the embedded Chapter 1 build video for visual pacing, then use the text below as a checklist you can run solo or in co-op.
New to the loop? Read getting started once, then return here with bag and tool basics in mind.
Chapter 1 goals
- Learn pile → glow → cash without getting lost.
- Finish structural stages before decorating obsessively.
- Buy capacity-first upgrades so later chapters hurt less.
- Unlock confidence (and content access) for Chapter 2 mansion and pool villa layouts.
You do not need perfect rare bricks or a full pet roster. You need clean stage clears.
Before you place the first wall brick
- Identify HUD cash, bag, objective text, and shop/upgrade buttons (controls).
- Run five practice trips with zero shopping to learn the path.
- Buy the first meaningful bag upgrade when you can.
- Agree on co-op roles if friends are present: pile, haul, place.
Resist vehicles and deep luck buys. Chapter 1’s footprint is small; capacity and tools win. Full reasoning sits in upgrades.
Stage A — Walls
Wall markers usually light first along the outer footprint. Treat them as a ring. Start at one corner and travel continuously so you never leave isolated gaps that force extra camera searches.
Solo tip: carry full bags and empty them along a single wall run before returning. Co-op tip: one player feeds the pile path while another “paints” the ring.
If markers stop glowing mid-wall, check objective text — you may have finished the wall quota and unlocked floors. Do not keep decorating dead zones.
Stage B — Floors
Floor glows fill interior plates. Routes shorten because you work inside the wall ring. Watch for choke points near door gaps; do not body-block teammates in co-op.
This stage is a great moment for a tool upgrade if placements feel sticky. Speed is still optional unless the pile sits oddly far. Keep an eye out for Gold bricks as luck-independent treats — pocket and place them, then continue (rare bricks).
Stage C — Roof
Roof markers introduce height and awkward camera angles. Elevate the camera, approach from the side with the clearest path, and place deliberately. Mobile players should pause movement before tap-placing.
Builder bot, if hired, loves broad wall and floor plates more than fiddly roof edges. Let the bot finish leftovers on lower stages while you specialize on roof glows. Bot timing advice lives in how to build fast.
Cash check: if bag tiers are available, buy them before roof cosmetics or luck. Roof clears unlock furniture handoff faster than a premature luck rank.
Stage D — Furniture handoff
Furniture markers scatter inside and sometimes around the house. They teach precision and objective reading. Clear dense clusters first, then sweep stragglers. In co-op, assign rooms — “you take kitchen glows, I take lounge” — instead of tripping over each other.
Furniture is where players waste time shopping. Open menus only when a room cluster is done. If gems appear, you may hatch lightly, but do not stall the handoff for a full pet session; park deep hatching thoughts in pets and gems.
Suggested upgrade arc during Chapter 1
- Walls: first bag
- Floors: second bag or first tool
- Roof: tool and tiny speed if walks annoy you
- Furniture: bot if surplus cash; otherwise save toward Chapter 2 bag/speed
Compare with the living rankings on the upgrade tier list. Skip code hunting — none are active as of November 2026 per codes.
Co-op Chapter 1 script
- Call roles before spawn sprint.
- Complete wall ring together.
- Split floor halves if three players; otherwise haul/place duo.
- Roof: best camera player places, others ferry.
- Furniture: room assignments.
- Celebrate, then immediately plan Chapter 2 prep purchases.
Common Chapter 1 failures
- Placing off-glow because it “looks right.”
- Buying luck before bag.
- All three players standing on one wall segment.
- Opening hatch UI during roof.
- Forgetting to re-read objective text after a stage completes.
After Chapter 1 clears
- Skim Chapter 2 so mansion and pool villa distances do not surprise you.
- Top off bag and speed.
- Consider Builder bot if you skipped it.
- Browse Guides Hub for efficiency and rare-brick pages.
- Optionally check pets tier list if gems piled up.
Chapter 1 is a tutorial with a paycheck. Respect the stage order, feed glowing markers, and leave with upgrades that still matter on bigger lots. When you are ready for wider footprints and challenge energy, jump to Chapter 2 and keep the same discipline at larger scale.
Frequently Asked Questions
Quick answers for Brick a House builders.
What order should I build in Chapter 1?
Follow glowing objectives, typically walls, then floors, then roof, then furniture. Always trust active markers over freeform decorating.
Can I solo Chapter 1?
Yes. Solo is straightforward on the compact starter house. Co-op mainly reduces haul time when roles are split cleanly.
Which upgrades matter most in Chapter 1?
Bag capacity first, then tools. Add a little speed if travel bothers you. Save deep luck and vehicles for later.
When do I unlock Chapter 2?
Progress through Chapter 1 stages until the experience opens mansion or pool villa content. Finish furniture handoff rather than abandoning the starter house early.
Should I hunt Rainbow bricks in Chapter 1?
Only as bonus finds during normal routes. Clearing glows matters more than rare hunting on the starter house.